How do I connect Email Octopus to Jinty?
Paste one key, choose a list, and everyone who says yes is added to it, with where they came from and when they agreed.
Before you start
You need an Email Octopus account and one API key from it. The Email Octopus screens described here are as they were on 9 September 2026. If a menu has moved since, the names below are still the words to look for.
-
Get your key from Email Octopus
Sign in to Email Octopus, open Developer, then API keys, and press Add key. Give it a name, press Create, and copy the code. Email Octopus shows a key once, at the moment you make it, and never again, so keep it somewhere safe until you have finished here.
-
In Jinty, open Settings, then Integrations
Integrations is where you connect the email tool you already use. Until you connect one it says so plainly. Press Connect on the Email Octopus card.
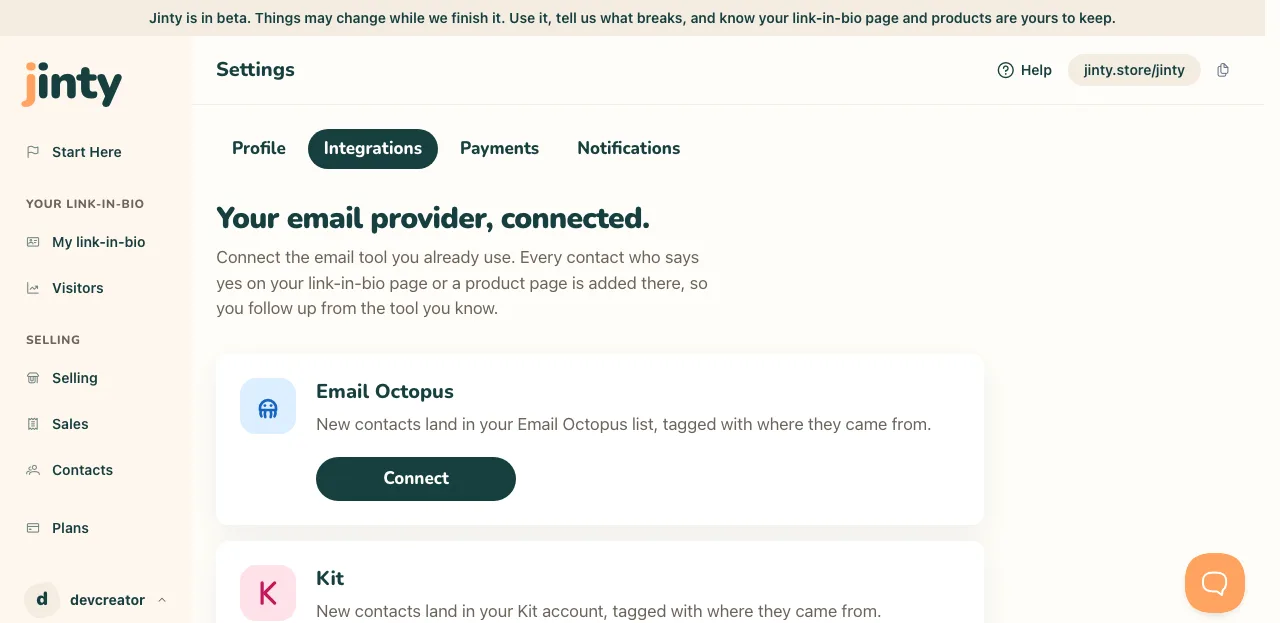
Settings, Integrations, with nothing connected yet. -
Paste the key and check it
Paste the code into the field and press Check this key. Jinty asks Email Octopus whether the key works and tells you what it heard back. Nothing is saved until it does, so a key pasted half way costs you nothing. Press Show if you want to read what you pasted.
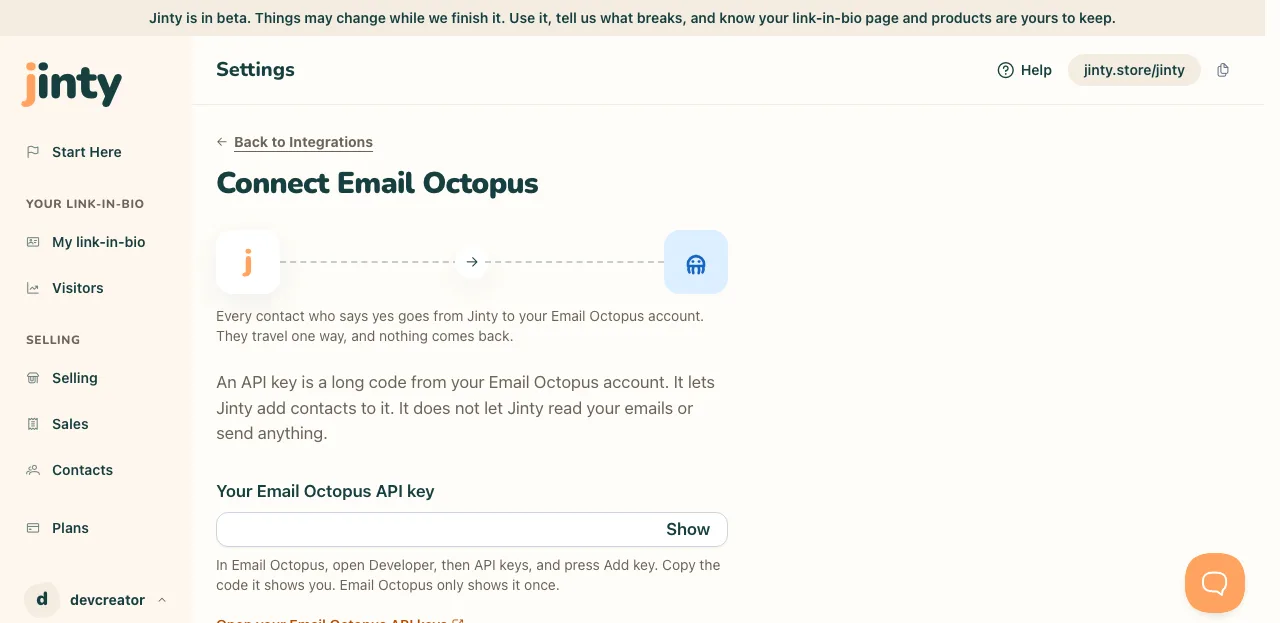
The Connect Email Octopus screen, with the key field and Check this key. -
Press Connect
When the key works, press Connect Email Octopus. That is the whole of the connection. There is no list to choose here, because you choose that separately for each thing you make. Email Octopus and Kit are separate connections, and you can hold both at once.
-
Choose the list for each thing you make
Open your email box on your link-in-bio page, or any product, and look for Where do these go? Choose Email Octopus, then choose the list. Every product can feed a different list, and so can your email box. If a list is deleted in Email Octopus, the picker tells you the next time you open that editor and asks you to choose another.
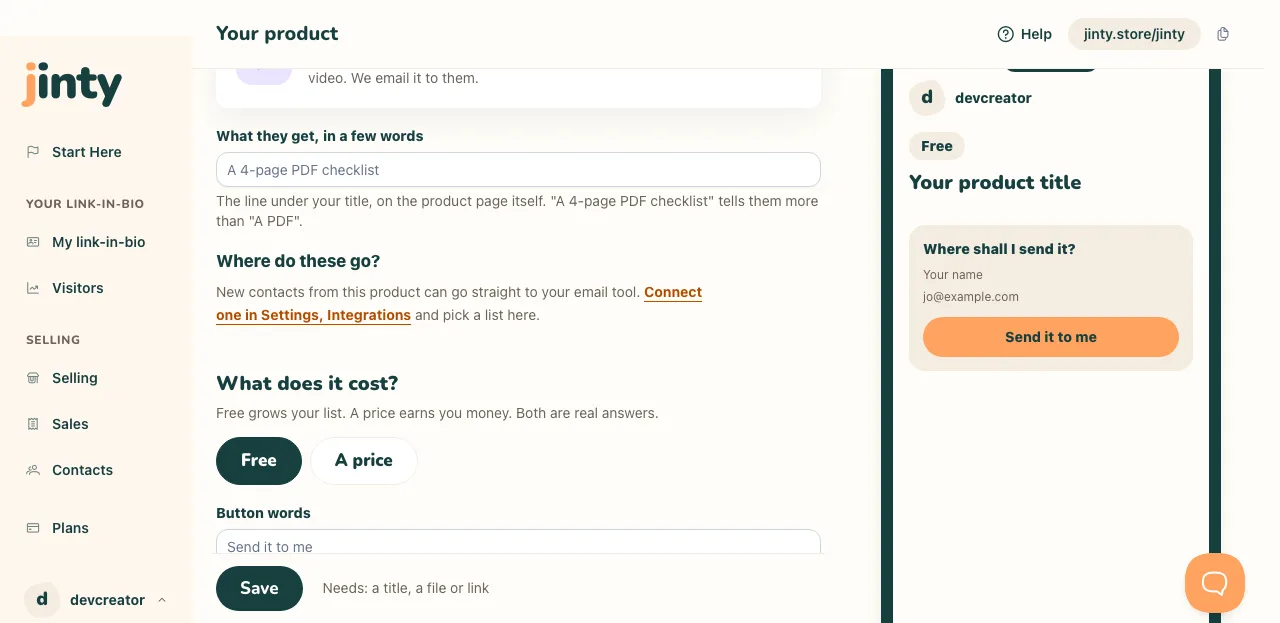
Where do these go? in a product editor, as it reads before any email tool is connected. -
What Jinty writes in your Email Octopus account
The first time you point something at a list, Jinty adds three fields to that list: Jinty source, Jinty consent date and Jinty consent reference. So every contact carries where they came from, the day they said yes, and the wording they agreed to. Your own first name field is filled in too, when the list has one.
Contacts arrive tagged jinty, plus one of jinty-signup, jinty-claim or jinty-purchase, so you can tell somebody who used your email box from somebody who claimed a free product from somebody who bought one. Apart from contacts, those fields and those tags are the only things Jinty writes there.
-
Your list here and your list there are two lists
Only the people who say yes are sent, and they travel one way. Jinty never reads your Email Octopus account back. So somebody who unsubscribes in Email Octopus still shows in Contacts here, and somebody you delete here is still in Email Octopus. Contacts you add by hand are yours alone and are never sent.
-
If the key stops working
Keys get deleted and replaced, and when yours stops being accepted the Email Octopus card says so and we email you once. Contacts who say yes meanwhile stay in Contacts here and are not added to Email Octopus, and they are not sent across later. Make a fresh key, paste it on the same screen, and new contacts go across again.
Related
Last updated 9 September 2026.
Anything this did not answer? Write to hello@jinty.store and a person will read it.
We only use cookies to keep you logged in and remember your preferences. Our audience stats set no cookie of their own. See our privacy policy.